🍂 React : The Ultimate React Native Cheat-Sheet 📑

Table of Contents
- Stylesheet
- Inline Styling
- Flexbox
- Detecting Screen Size
2. Navigation
- useNavigation Hook
- BackHandler (Android)
3. Networking
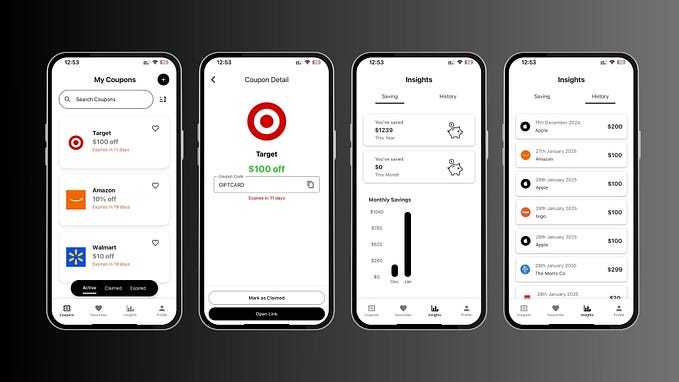
4. Creating a Sample App
5.React Native Cheatsheet: Key Points
Stylesheet
React Native uses a subset of CSS for styling components. The StyleSheet API allows you to define styles and keep them separate from your component logic.

Inline Styling
Inline styling is a quick way to apply styles directly to components.
<View style={{ padding: 10, backgroundColor: 'blue' }}>
  <Text style={{ color: 'white' }}>Hello, world!</Text>
</View>
Flexbox
Flexbox is a powerful layout system that allows you to create complex layouts with ease.
<View style={{ flex: 1, flexDirection: 'row', justifyContent: 'center', alignItems: 'center' }}>
  <Text>Item 1</Text>
  <Text>Item 2</Text>
</View>
Detecting Screen Size

Use the Dimensions API to get the screen size and adapt your layout accordingly.
import { Dimensions } from 'react-native';

const { width, height } = Dimensions.get('window');
console.log(`Width: ${width}, Height: ${height}`);
Navigation
React Navigation is the most popular library for navigating in React Native apps. It supports a wide range of navigators, such as stack, tab, and drawer navigation.
Basic Navigation Setup

Install React Navigation and its dependencies:
npm install @react-navigation/native
npm install @react-navigation/stack
npm install react-native-screens react-native-safe-area-context
useNavigation Hook

The useNavigation hook provides access to the navigation prop, making it easy to navigate between screens.
import { useNavigation } from '@react-navigation/native';
import { Button } from 'react-native';

const MyComponent = () => {
  const navigation = useNavigation();
  return (
    <Button
      title="Go to Details"
      onPress={() => navigation.navigate('Details')}
    />
  );
};
BackHandler (Android)
Handle the back button on Android devices to provide custom behavior.
import { useEffect } from 'react';
import { BackHandler, Alert } from 'react-native';

const MyComponent = () => {
  useEffect(() => {
    const backAction = () => {
      Alert.alert('Hold on!', 'Are you sure you want to go back?', [
        {
          text: 'Cancel',
          onPress: () => null,
          style: 'cancel',
        },
        { text: 'YES', onPress: () => BackHandler.exitApp() },
      ]);
      return true;
    };
    const backHandler = BackHandler.addEventListener('hardwareBackPress', backAction);
    return () => backHandler.remove();
  }, []);
  return null;
};
Networking
React Native uses the fetch API for making network requests. Fetch is a promise-based API that provides a clean and straightforward way to fetch resources.
Fetch Example
import React, { useEffect, useState } from 'react';
import { View, Text } from 'react-native';

const App = () => {
  const [data, setData] = useState(null);
  useEffect(() => {
    fetch('https://jsonplaceholder.typicode.com/posts/1')
      .then(response => response.json())
      .then(json => setData(json))
      .catch(error => console.error(error));
  }, []);
  return (
    <View>
      {data ? <Text>{data.title}</Text> : <Text>Loading...</Text>}
    </View>
  );
};
export default App;
Creating a Sample App
Let’s create a simple to-do app as an example. This app will allow users to add, remove, and list to-do items.
App Component
import React, { useState } from 'react';
import { View, TextInput, Button, FlatList, Text, StyleSheet } from 'react-native';

const App = () => {
  const [task, setTask] = useState('');
  const [tasks, setTasks] = useState([]);
  const addTask = () => {
    setTasks([...tasks, { key: tasks.length.toString(), value: task }]);
    setTask('');
  };
  const removeTask = (taskKey) => {
    setTasks(tasks.filter((task) => task.key !== taskKey));
  };
  return (
    <View style={styles.container}>
      <TextInput
        style={styles.input}
        placeholder="Add a task"
        value={task}
        onChangeText={setTask}
      />
      <Button title="Add Task" onPress={addTask} />
      <FlatList
        data={tasks}
        renderItem={({ item }) => (
          <View style={styles.task}>
            <Text>{item.value}</Text>
            <Button title="Remove" onPress={() => removeTask(item.key)} />
          </View>
        )}
      />
    </View>
  );
};
const styles = StyleSheet.create({
  container: {
    padding: 20,
  },
  input: {
    borderColor: 'gray',
    borderWidth: 1,
    marginBottom: 10,
    padding: 5,
  },
  task: {
    flexDirection: 'row',
    justifyContent: 'space-between',
    alignItems: 'center',
    marginBottom: 10,
    padding: 10,
    borderColor: 'gray',
    borderWidth: 1,
  },
});
export default App;
React Native Cheatsheet: Key Points

- State and Props: Manage the internal state of a component with state and pass data from parent to child components with props.
- useState and useEffect: Use hooks for managing state and side effects in functional components.
- Core Components: Utilize essential components like
View,ScrollView,Text,Image,Button,TouchableHighlight,TouchableOpacity,TextInput, andFlatList. - Stylesheet: Create component styles with the
StyleSheetAPI, and use inline styling and flexbox for layout. - Navigation: Implement navigation using the React Navigation library. Use hooks like
useNavigationand handle platform-specific features like the Android back button. - Networking: Make network requests using the
fetchAPI. Handle data fetching and error handling. - Debugging and Testing: Use tools like React Native Debugger, Jest, and Detox for debugging and testing your app.
By mastering these key points, you will be well-equipped to build robust and efficient React Native applications.